With deadlines looming and a print campaign raring to go, making sure your design is available as a print-ready file is essential for efficiency. Without it, you risk back and forth with your print provider and a last-minute print project that’s long overdue.
Even the most experienced designers can seize up when it comes to this part. Don’t worry, whatever software you use to create compelling designs, we’ve provided some guidance so sending your files to the printer is made easy.
- Creating Print-Ready Files From Adobe Photoshop CC
- Creating Print-Ready Files From Adobe Illustrator CC
- Creating Print-Ready Files From Adobe InDesign CC
quick recap: What is a PDF?
PDF is an acronym for Portable Document Format and it’s a universal file format that preserves the fonts, images, graphics and layout of any source document.
PDF files are compact and can be easily shared, viewed and printed by anyone using the free Adobe Acrobat Reader software. This makes it a great option for your print-ready files, just make sure to check with your printer to find out what they’d prefer.
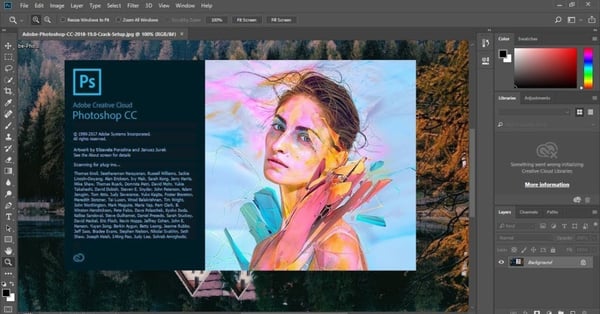
Creating Print-Ready Files From Adobe Photoshop CC
Although Photoshop is probably what you’re most familiar with, it’s not the program you need to be using for page layout and text. It’ll do at a pinch but might take years to send via email. It’s best used for photos you’ve taken with a digital camera that you need to convert to CMYK.
Simply put, text you create in Photoshop won’t be as sharp in comparison to its Illustrator and InDesign kindred.
Photoshop is unable to create PDFs with a proper crop and bleeds, so remember to build it into the canvas size. Here’s some more advice so your images in Photoshop can give your print-ready PDF what it needs to stand out from competitors. And it’ll save you a headache later down the line.
- Select a unit of measurement – we recommend working in millimetres for print.
- You can hand place crop and bleed guides by choosing View > Rulers (or press Ctrl + R or command + R on Macs) then clicking on the rulers, drag and drop your guidelines .25" in from the edges. To add a bleed, add 6mm to both the width and height.
- Go to File > Save As. Choose PDF, tick ‘As a copy’, untick ‘Layers’ and set colour to CMYK. Name your file (something you’ll remember] and hit save. In Adobe PDF Preset, select [PDF/X1a:2001] and then you’re ready to go.
- Just remember Photoshop isn’t the only file out there, other software will serve you and your design needs better.
TIP: When sending print-ready design files to your printing partner, you should send your images in the highest quality (not fastest) image format possible. Even if it takes a cup of tea or two to pass the time.
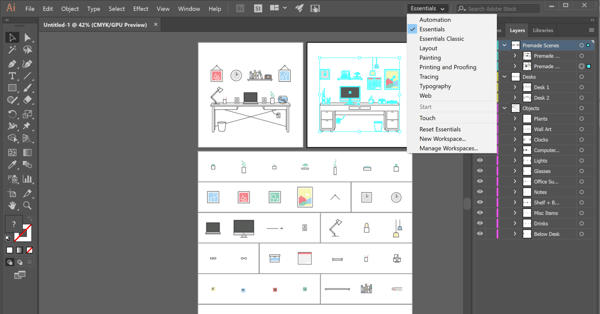
Creating Print-Ready Files From Adobe Illustrator CC
Similar to Photoshop, it’s unlikely Illustrator will be what you use to print your final design. However, unlike the photo-focused program, Illustrator is capable of displaying, processing and creating vector graphics.
This makes the tool popular for logos and scalable graphics. Imagine your customer can pick up stationery with your business logo on but they can see the same thing blown up on a billboard across the city. We’ve provided some more information so you can be confident your Illustrator files are ready.
- When setting up a new design file in Illustrator or Photoshop, both "New Document" screens will have a field labelled “Color Mode”. Make sure this drop-down menu has CMYK selected.
- Setting up bleeds from the very start is easy. When creating a new document, in the “Bleed” field, make sure all four sides are set to .125". When saving your final PDF, you want to make sure that your bleeds are saved out as well.
- If your source file is an Illustrator document, ensure that images in it are linked and not embedded. Illustrator converts embedded images to CMYK - something we really don’t want when printing.
TIP: Text, plans, line drawings, blueprints and logos work best in vector format.
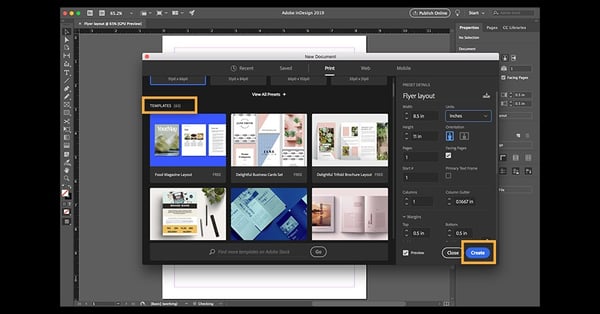
Creating Print-Ready Files From Adobe InDesign CC
Illustrator and Photoshop export PDF files in a different way than InDesign. Unfortunately, those files aren’t suitable for print.
Enter InDesign. The program integrates all file formats that can be exported from Photoshop and Illustrator, consolidating them into a print-ready artwork file. Only InDesign PDF documents communicate all the information needed to produce a successful print.
It’s a fantastic application and popular choice for designers when creating posters, flyers, brochures, magazines and more. Not just powerful, InDesign allows you to arrange multiple pages as in a book, which greatly simplifies the layout process.
If your design is ready to be exported and shipped off for print, open the Export dialogue box (Ctrl + E or Mac users press CMD) or File > Export. Here’s some more guidance to ensure your print-ready PDF will deliver the desired result.
- Make sure to include all pages and don’t export them in spreads.
- The InDesign default settings at Compression will do in most cases. A setting of 300 dpi assures an excellent and vibrant print result, if the original is high-quality enough of course.
- Don't include any marks, but make sure you check "use document bleed settings" if you included it in your settings. If not, you can specify the all-important .125" bleed at this point.
- The settings at Output are essential for the colour composition of your printed product. RGB images have to be converted to PDF in CMYK to be exported properly.
- Skip the Security tab. Avoid assigning passwords to your PDF file or else the document can’t be processed by the printer.
If you'd prefer to supply the actual InDesign document to your printer - make sure you package (Ctrl Shift Alt + P or CMD Shift Alt P on Mac) the InDesign file correctly. Zip the entire file, your printer will need all of your images and fonts, so you'll need to include those too - not just the Indd file.
When packaging, check the boxes shown below so your printer gets everything they need to bring your project to life.

TIP: If your print is design focused with lots of imagery, use image formats with less compression such as PNG, TIFF and maximum quality JPG.
You’ve also got elements like crops, colour spaces and bleeds to consider to avoid print quality problems down the road. Preparing artwork for print is collaborative and there’s nothing more rewarding than seeing your customer clutch your hard work in their hands.
Even today, printed materials are often the first experience a new customer has of a business. If you have any questions or need further assistance with getting your file ready for printing, give us a shout.
Here at B&B Press, we have over 60 years of experience in the printing industry and we want to make the process of preparing your artwork for print simple. That way you can concentrate on producing high-quality design work that resonates with your customers. You’re in luck, we’ve created a guide that does just that.
Create a Print Ready File With Less Stress and More YESSS!
We could understand if making sure your file is a PDF is the least of your worries. But it’s crucial to avoid expensive (and easily avoidable) print runs in the future.
Here at B&B Press, we’re always trying to make it easier for our customers to produce high-quality print for their business. That’s why we’ve created the BeBrilliant Print Guide. It just means that everything is ready to print at the push of a button.
For more tips on preparing artwork for print, you can contact an expert printing professional like B&B Press or download our ‘How to Produce Brilliant Print’ guide below.


